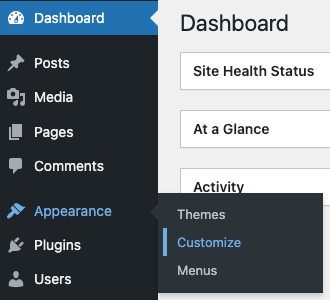
Many configuration options for the website can be found in Appearance > Customize.
Header
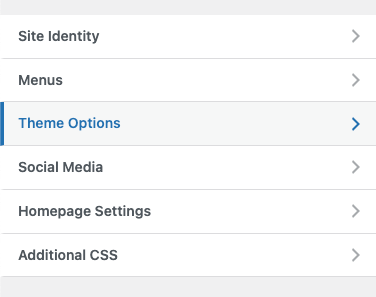
The top of the page is configured in both “Theme Options” and “Site Identity”. In “Theme Options” you can choose whether you want a Box Header or a Text Header. See the design system documentation under “Header and Navigation” for examples and guidance on choosing.
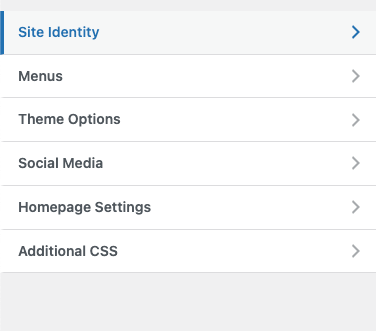
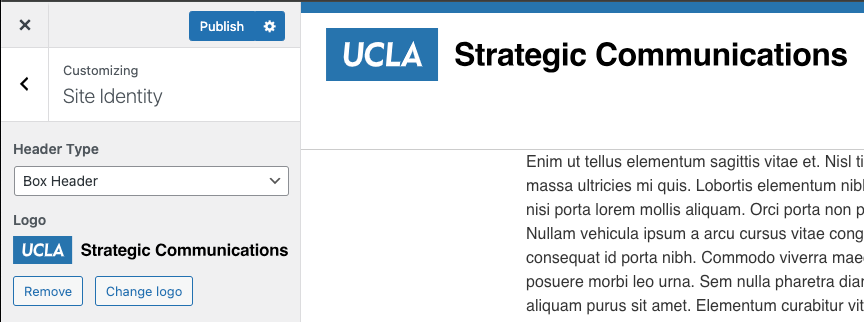
To change the header of your site, go to Appearance > Customize as shown above. On the Customize page, go to Site Identity.
Select a header from the Header Type dropdown menu.

Click the Publish button located at the top.
On the Customize page, go to Site Identity.
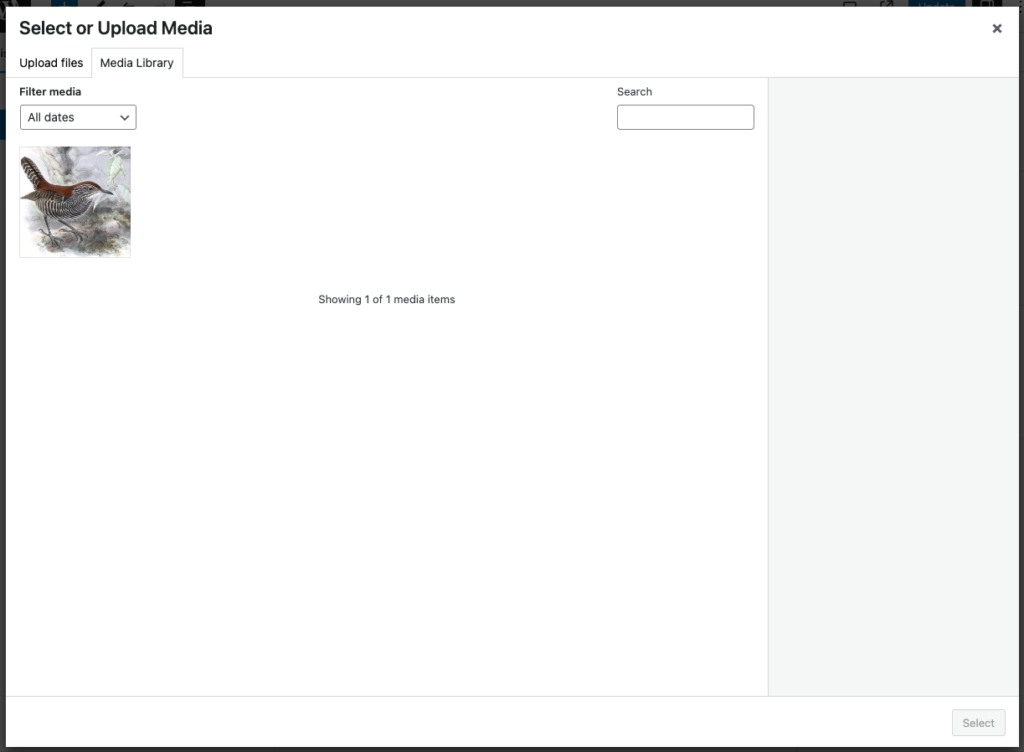
Under Logo, click on the Select Logo box
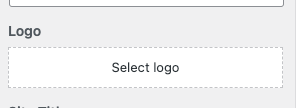
If the logo exists in your Media Library, you can select it there. Otherwise, click on the Upload files tab and upload your logo.
The logo file type can only be jpg, png, or svg
Once uploaded, you will be asked to crop the logo. It is recommended that you format and crop the image before uploading. If you haven’t you may crop the logo at this step.
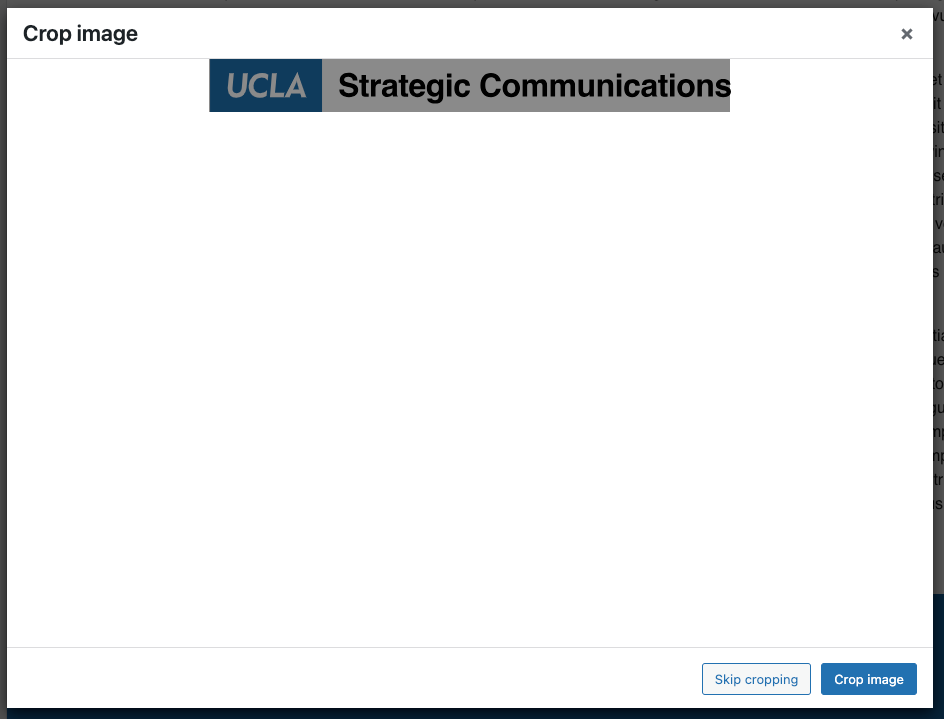
You will see your uploaded logo in the preview.
Click the Publish button located at the top.
If your logo’s width is greater than the width of most mobile devices, you can upload a shorten-version of your logo.
On the Customize page, go to Site Identity.
Under Logo for mobile, click on the Select Image box
If the logo exists in your Media Library, you can select it there. Otherwise, click on the Upload files tab and upload your logo.
The logo file type can only be jpg, png, or svg
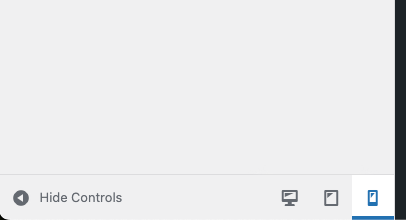
To preview your mobile logo, click on the mobile icon on the bottom of the left sidebar.
Click the Publish button located at the top.
Your department name is also the Site Title of your site. To change this, go to Appearance > Customize as shown above.
On the Customize page, go to Site Identity.
Change the Site Title.
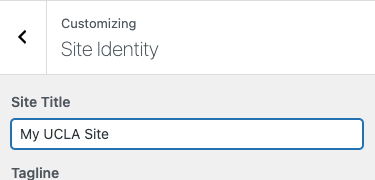
You will see the change in the live preview.

Footer
The bottom footer of the page is configured in both “Theme Options” and “Social Media”. In “Theme Options”, enter your department or program contact address, phone number, and/or email address you would like to include on your site. In “Social Media”, enter the profile page URL for each corresponding network your group is on. Only enter your own channels, the UCLA global channels are already in the global footer. If you don’t wish to include any contact info or social media channels, leave these fields blank.
If you want to include footer links, see the Footer section on the Menus page.
On the Customize page, go to Site Identity.
Under the Footer Logo, click the Select Image box
If the logo exists in your Media Library, you can select it there. Otherwise, click on the Upload files tab and upload your logo.
The logo file type can only be jpg, png, or svg
Once your footer logo is selected, scroll down on the preview window to see it.

Click the Publish button located at the top.
If your footer logo’s width is greater than the width of most mobile devices, you can upload a shorten-version of your logo.
On the Customize page, go to Site Identity.
Under Footer Logo for mobile, click on the Select Image box
If the logo exists in your Media Library, you can select it there. Otherwise, click on the Upload files tab and upload your logo.
The logo file type can only be jpg, png, or svg
To preview your mobile logo, click on the mobile icon on the bottom of the left sidebar.
Click the Publish button located at the top.
The footer can hold tertiary information such as the department’s contact information. To add or edit, go to Appearance > Customize as shown above. Then go to Theme Options.
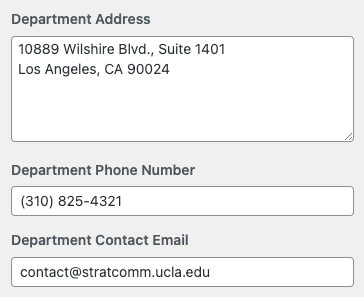
You will see the following fields:
- Department Address
- Department Phone Number
- Department Contact Email
You can link your department’s social media accounts in the footer below the contact information. To add or edit, go to Appearance > Customize as shown above. Then go to Social Media
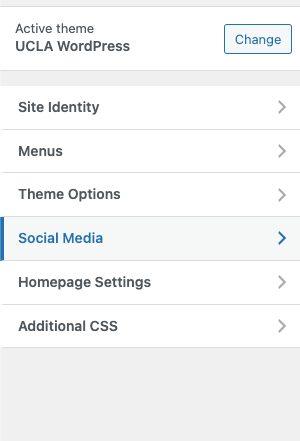
You will see fields to enter the URLs of the department’s social media account. When you are done, click Publish on the top.
- Note: You must enter the full URL. Example: https://www.instagram.com/ucla

Connecting Google Analytics
To connect Google Analytics account, enter your Google Tag manager ID in “Theme Options. For help finding this, see Google’s Tag Manager Help.
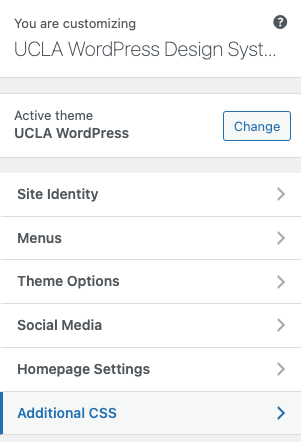
Custom CSS
If you have CSS knowledge, you are able to add custom CSS in your WordPress site. Please refer to the WordPress CSS documentation for more information.
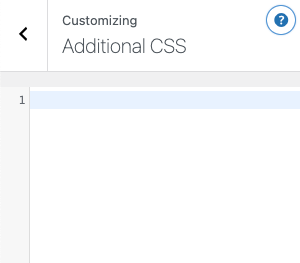
To add or edit CSS, go to Appearance > Customize as shown above and go to “Additional CSS”.
From there, you’ll be presented with a text editor where you can add your CSS.