Best suited for static, unchanging content of a unique type such as “About Us” or “Contact” pages. They offer hierarchy, allowing you to organize content in a structured manner. Pages are not time-sensitive, lack chronological order, and typically have static URLs
How to create a new page
In your WordPress admin dashboard:
- Click on Pages on the left sidebar
- Click on the Add new page button
- Give your page a title by typing it in the box at the top that says Add title.
- Note: The page title will be the slug of the page.
- Click on the + block inserter icon to add new content, or click on any block to edit existing content
Setting up your page
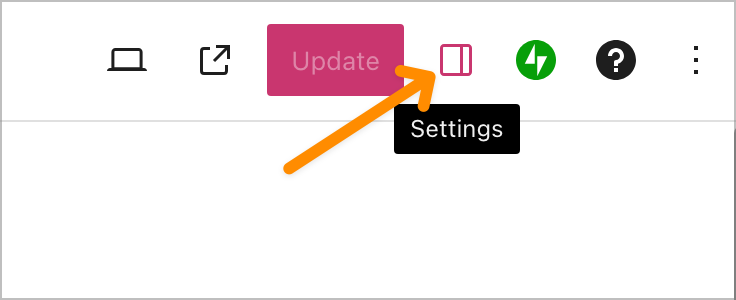
When you start working on your page you may need to adjust some settings. You can find this in the right sidebar of the editor. If you do not see a right sidebar, click the Settings icon in the top right corner.
Visibility
By default, a page will be set to Public meaning all visitors can view it when published.
You can set the page to Private if you only want logged in admin users to view it.
Setting it to Password protected will only allow visitors who has the password to view it.
Publish Date
You can set the page to be published immediately, schedule it to be published in a future date, or backdate it.
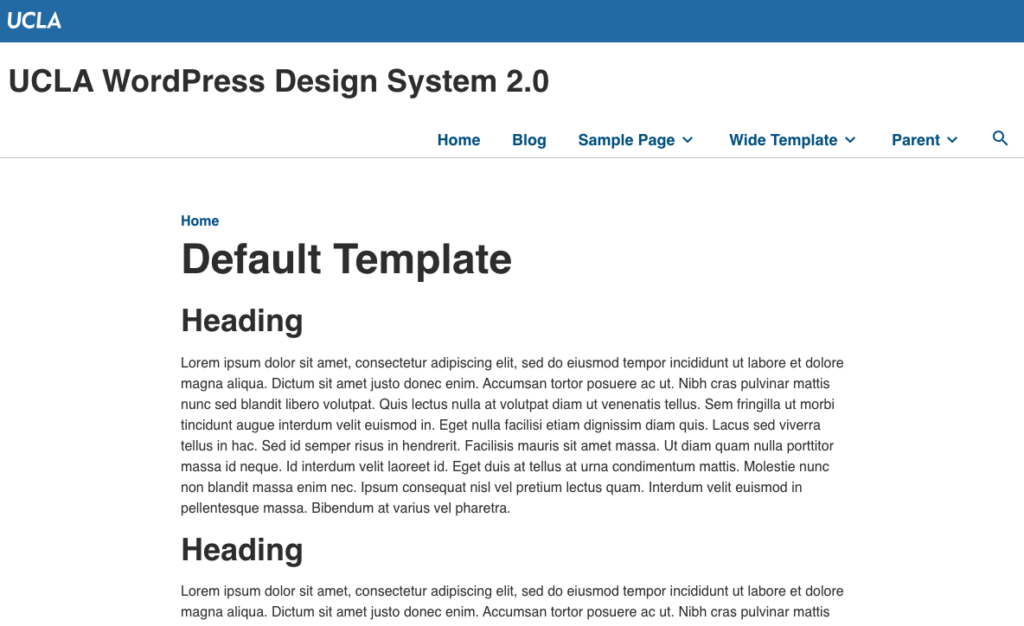
Default Template
The Default template sets the page content width at 776px wide.
Wide Template
To select a Wide Template (1176px), you must select the Wide Template on the right sidebar in Page Settings

This will set your Page Title to 1176px width, however the content will stay at 776px width.
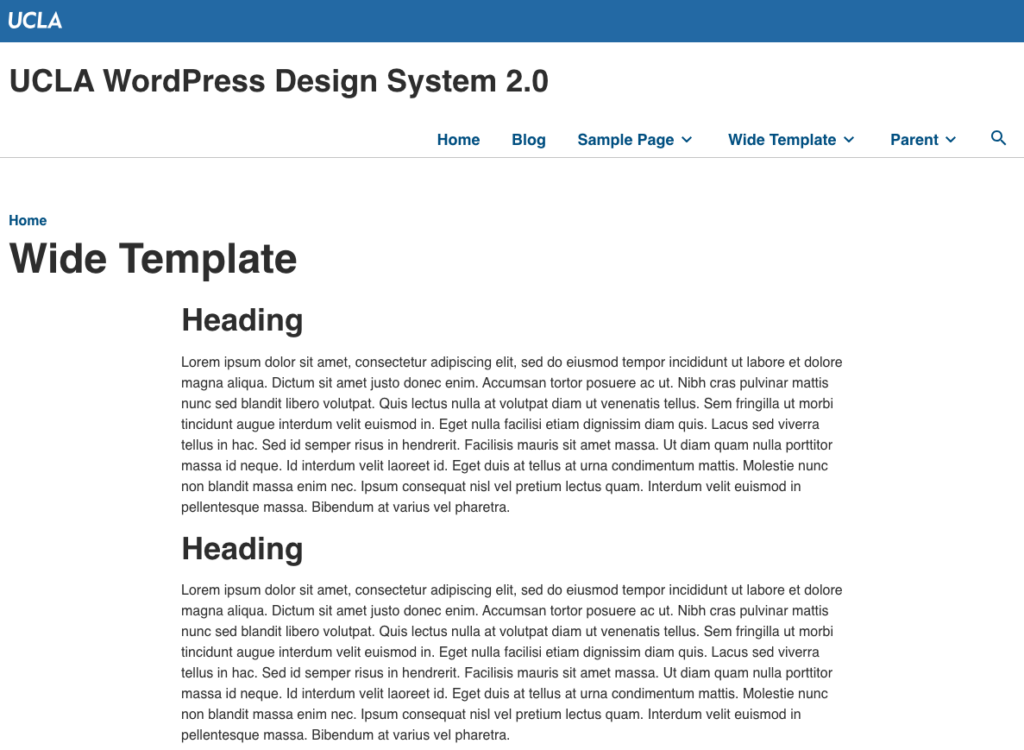
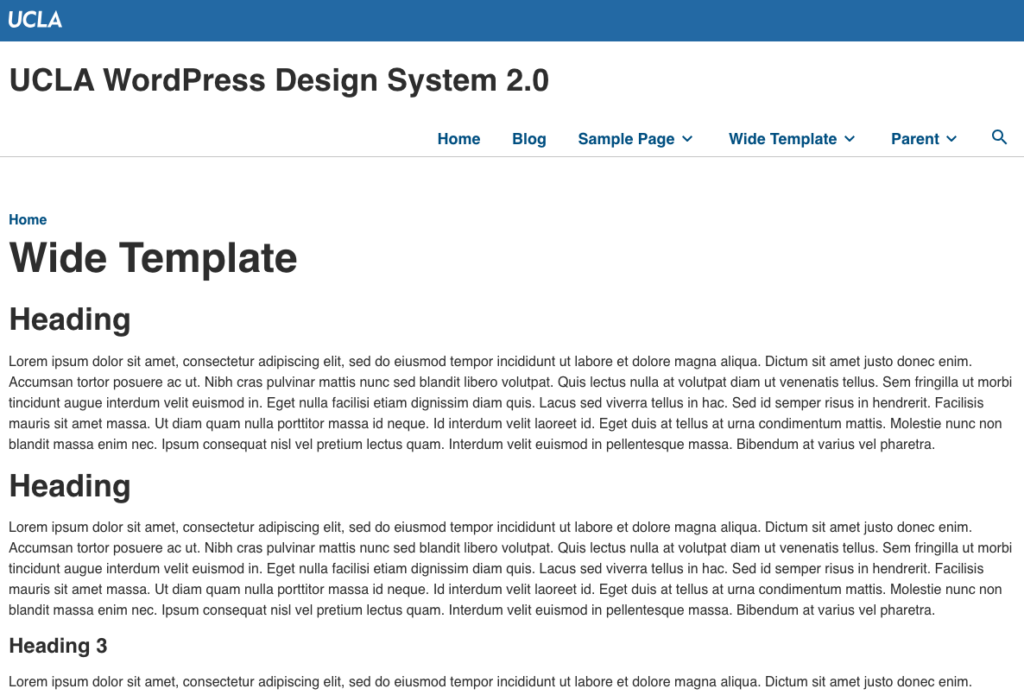
To remedy this, you will need to nest all your blocks in a Group Block and set the Align to Wide.

You’ll also need to untoggle the Inner blocks use content width in the Group Block Settings

Click Update and your content should fit within the Template Width.
Publishing a page
In the top right corner of your screen, you will see a couple several buttons.

- Save draft: Save the latest version of your draft page.
- If this shows Saved instead, it means the latest version of your draft has been saved successfully.
- Preview: See what your page will look like on desktop, mobile, and tablet screens. Click Preview in new tab to see how the changes will look on the live site.
- Publish: Publish the draft page to your website.
- Settings icon: Toggle your page settings/right sidebar
- Ellipses Menu (the three vertical dots): Additional editor settings.
How to edit an existing page
After you publish a page, you can make edits/changes after the fact. On your admin dashboard:
- Click on Pages on the left side.
- Either click on the page title or hover over the page and click the Edit link below the title

If you are already logged in, you can also edit an existing page by visiting the page and clicking the Edit Page above.

When a page is already published, you will see this in the top right of the editor.

- View page (arrow icon): Open the live version of the page in a new browser tab.
- Preview: See what your page will look like on desktop, mobile, and tablet screens. Click Preview in new tab to see how the changes will look on the live site.
- Update: Save your changes to the already-published page.
Posts
Posts are organized using categories and tags. You can organize posts with categories, they are not hierarchical like pages are. Tags can also be used to provide additional metadata to help organize and classify posts.
How to create a new post
In your WordPress admin dashboard:
- Click on Posts on the left side.
- Click on the Add new post button.
- Give your post a title by typing it in the box at the top that says Add title.
- Note: The page title will be the slug of the page.
- Click on the + block inserter icon to add new content, or click on any block to edit existing content
Setting up your post
When you start working on your page you may need to adjust some settings. You can find this in the right sidebar of the editor. If you do not see a right sidebar, click the Settings icon in the top right corner.

Visibility
By default, a post will be set to Public meaning all visitors can view it when published.
You can set the post to Private if you only want logged in admin users to view it.
Setting it to Password protected will only allow visitors who has the password to view it.
Publish Date
You can set the post to be published immediately, schedule it to be published in a future date, or backdate it.
Sticky Posts
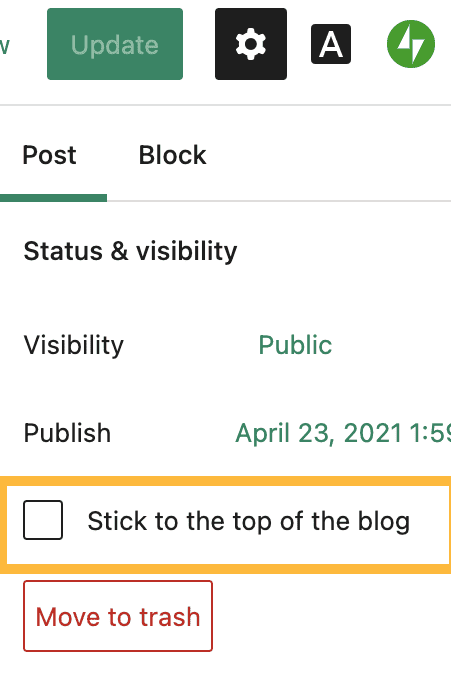
WordPress organizes your posts in reverse chronological order with the most recent post at the top. You are able to pin a post so that it stays on top regardless of the published date by marking it as Sticky.
To make a Sticky Post
- Go to the post settings in the right sidebar
- Under Summary, look for the checkbox Stick to the top of the blog.
- Check the box.
- Click Update.
Categories
Categories provide a helpful way to group related blog posts together. They will help keep your posts organized and easy for your readers to navigate. You might want to create categories for different topics you cover on your site.
For example:
- A company may create categories for News, Promotions, and Product Releases.
- A graphic designer may have categories for Illustration, Video, UX Design, and Logo Creation.
- A food blog may use categories for Breakfast, Lunch, Dinner, and Dessert.
Creating a Category
New posts automatically starts with one default category called Uncategorized. To create your first categories:
- On your dashboard, go to Posts > Categories
- Click Add New Category
- Give the new category a name and (optionally) a description.
- Click Add to save the new category.
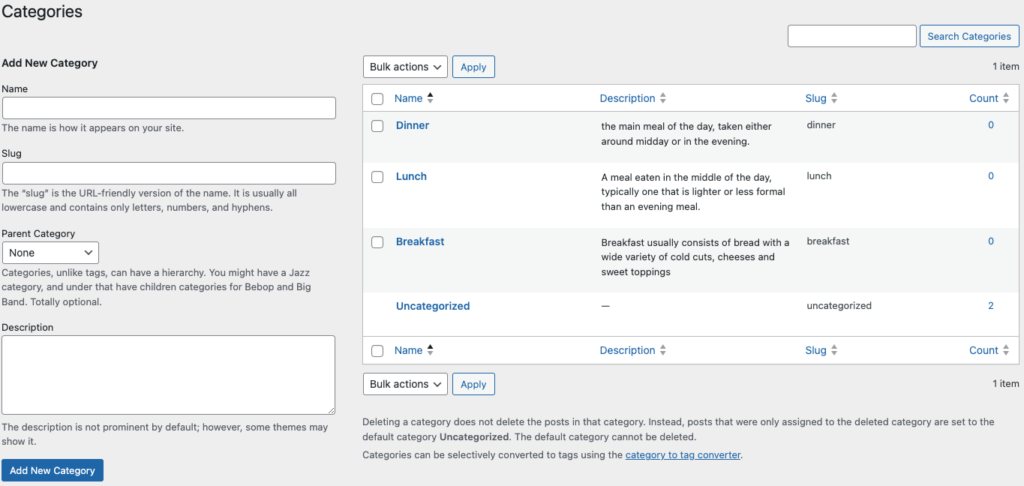
By default, the category will be added as a Top level Category. This means that it is not a subcategory.
To create a sub-category, you must select a Parent Category when creating a new category.

Tags
Tags, like categories, offer a means to categorize related posts, tell visitors what the post is about, and help readers discover new content.
Unlike categories, tags are used to assign more specific keywords to a post. The use of tags is completely optional.
Adding a tag to your post
- On your dashboard, go to Posts
- Click on the Post you want to tag.
- Open the right sidebar
- Find the Tags section
- Using your keyboard, type your tag followed by a comma or the Enter key.
- If the tag has already been created for a previous post, the Tags box will begin to auto-populate with matching tags
- When finished, click Update or Publish to apply the changes to that post.
